
Piano roll precision
Strum patterns, chord stacks, and micro-timing edits are everyday tasks. Learn velocity sculpting, ghost notes, and scale helpers to write hooks faster.
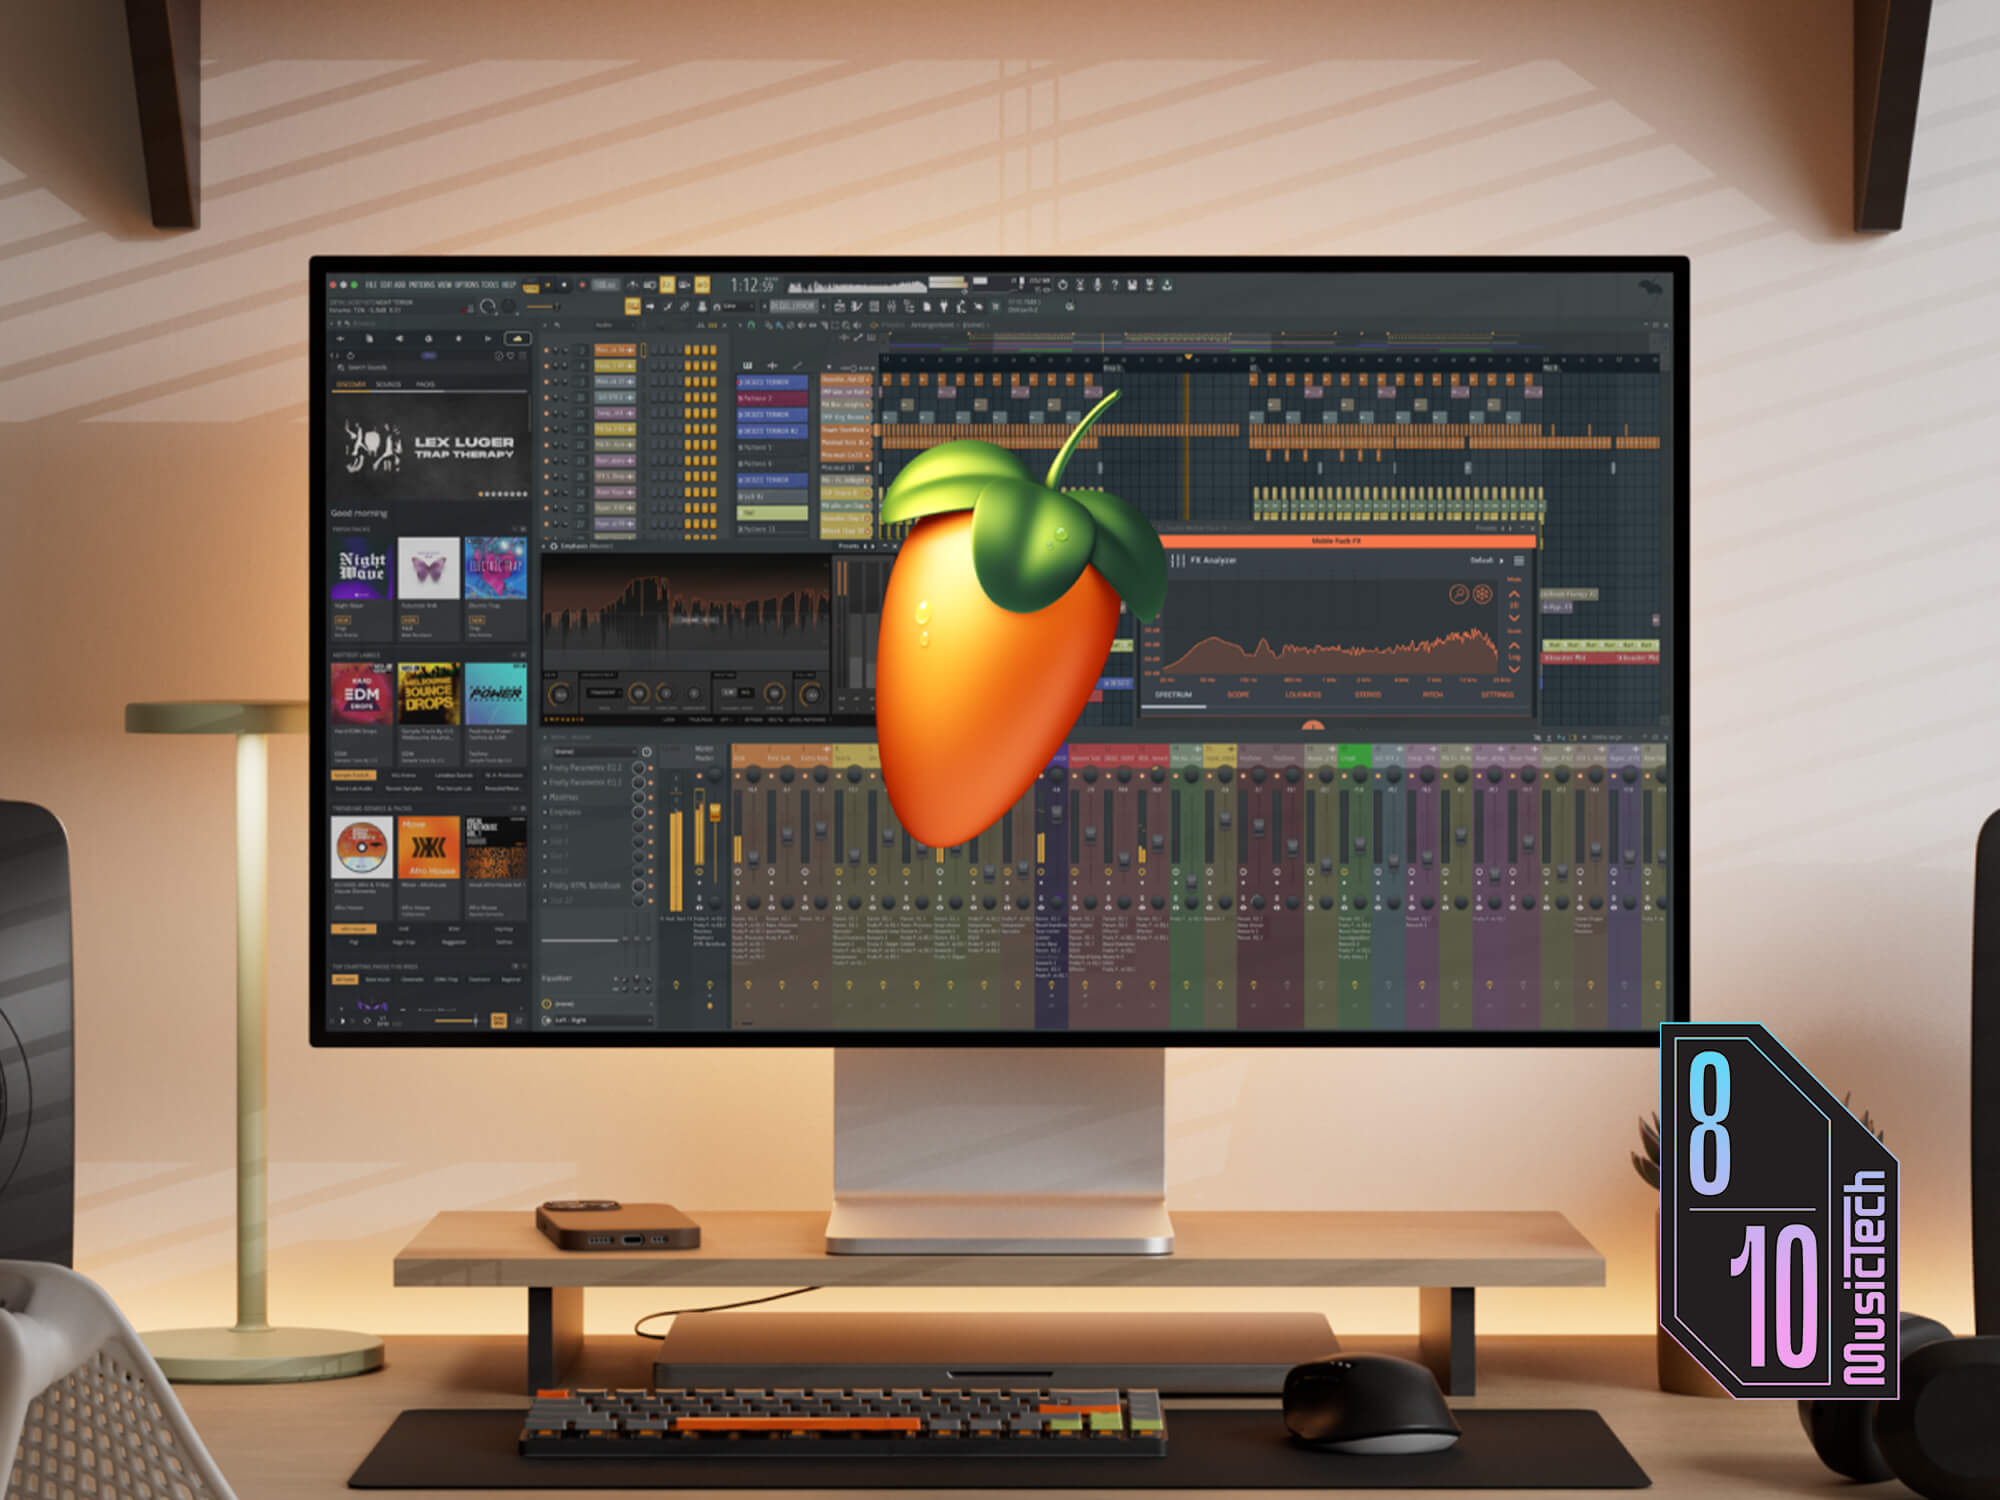
WorkflowFL Studio is known for a fast pattern workflow, a deep mixer, and a piano roll that rewards keyboard-heavy producers. These pillars matter whether you make trap, house, or cinematic scores.
Topic cluster: CPU · latency · export · piano roll · tips · FAQ
Strum patterns, chord stacks, and micro-timing edits are everyday tasks. Learn velocity sculpting, ghost notes, and scale helpers to write hooks faster.
Workflow
Bus routing, parallel compression, and stem-ready gain staging keep projects portable. Treat the mixer as a product: consistent colors, names, and sends.
Mixing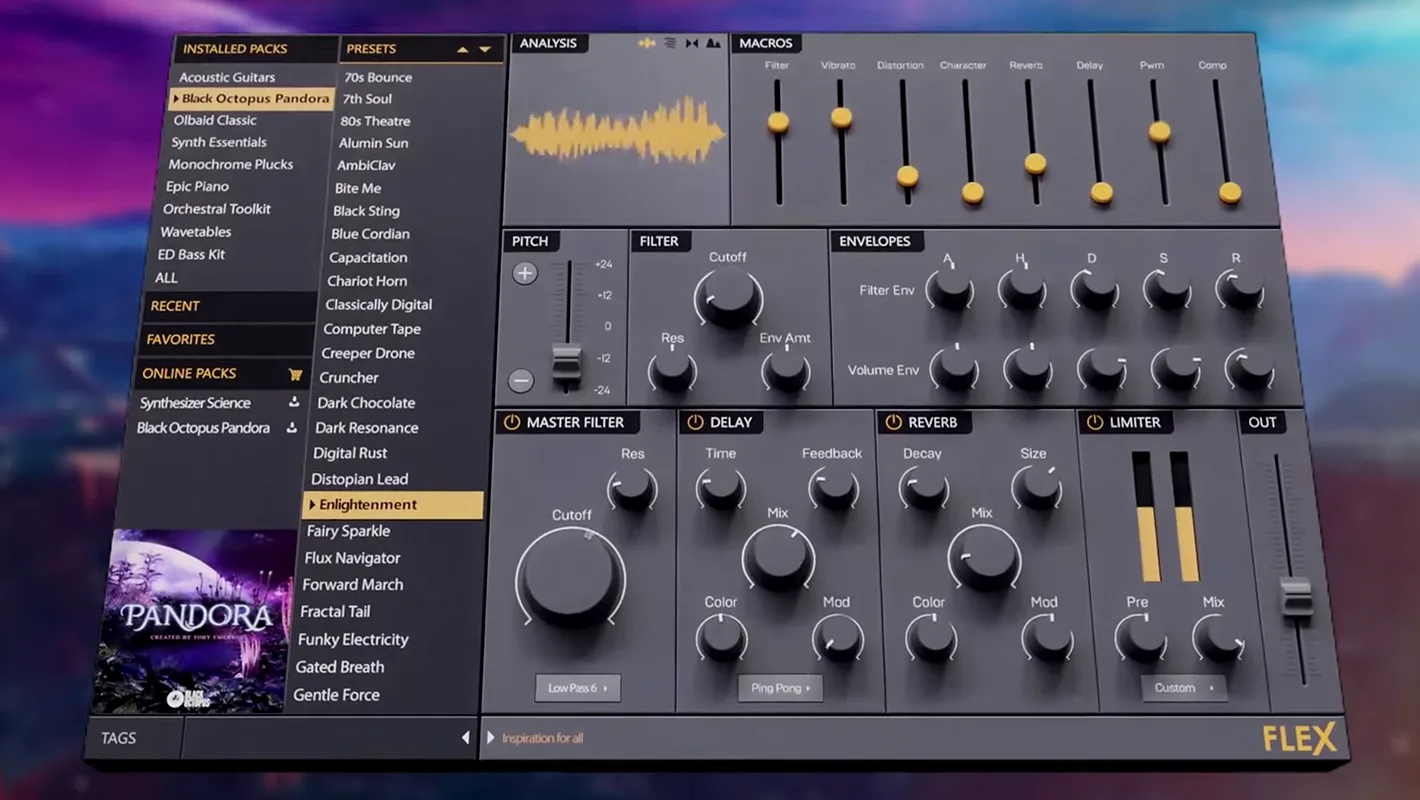
From subtractive basses to granular textures, the same rule applies: fewer great plugins beat fifty mediocre presets. Save your own starter patches.
SoundDepth
Beyond flashy features, long sessions reward a few structural habits: routing, timing, and file hygiene.
Readable automation lanes beat mystery curves six months later. Name clips, color by role (drums, bass, fx), and commit obvious moves to automation early so recalls stay predictable.
Swing and micro-shifts belong in the music, not in mystery buffer issues. When timing feels wrong, confirm sample rate matches across hardware, project, and imported files before you blame “feel.”
Buses for drums, parallel compression, and print tracks should survive a handoff. If only you understand the patch bay, future-you (and collaborators) will pay interest on that debt.
Collect external audio into the project when sharing. Keep a dated archive of stems per song: cloud sync is not a backup strategy until you have tested a restore.
Stuck mid-session? Jump to Tips for CPU and latency first, then Blogs for longer explanations.
Arrangement
Features only help when the song has a shape. Start with a loop that already feels good, then duplicate sections as patterns before you paint automation everywhere. Mute busses to hear whether the arrangement carries the track without the ear candy.
Bounce rough mixes often, not for Instagram, for decisions. Compare today's bounce to yesterday's at the same volume. When the mix is “done,” export lossless, then derive MP3 or AAC from that file only.
Need targets and meters in plain language? The mastering & loudness article walks through a practical routine. For session speed, see the CPU optimization guide and latency troubleshooting.
Listening
Pick references in the same ballpark of genre and density, not the loudest file on the internet.
Loud always wins blind tests. Use a utility or meter to match perceived loudness before you judge EQ.
Long A/B skews memory. Flip every few seconds so you compare impression, not nostalgia.
Study section lengths and drops; cloning EQ curves from a different master rarely transfers.
More on references in FAQ.
Writing
Programming is arranging too: leave yourself room to edit when the vocal arrives.
Patterns named “Pattern 47” become landmines. Use role + section: drums_chorus_b.
Bounce MIDI to audio once a part is approved: CPU drops and disagreements about “which take” disappear.
Hot virtual instruments clip before the mixer does. Trim at the source so faders stay near unity.